The First Bite That Hooked Me
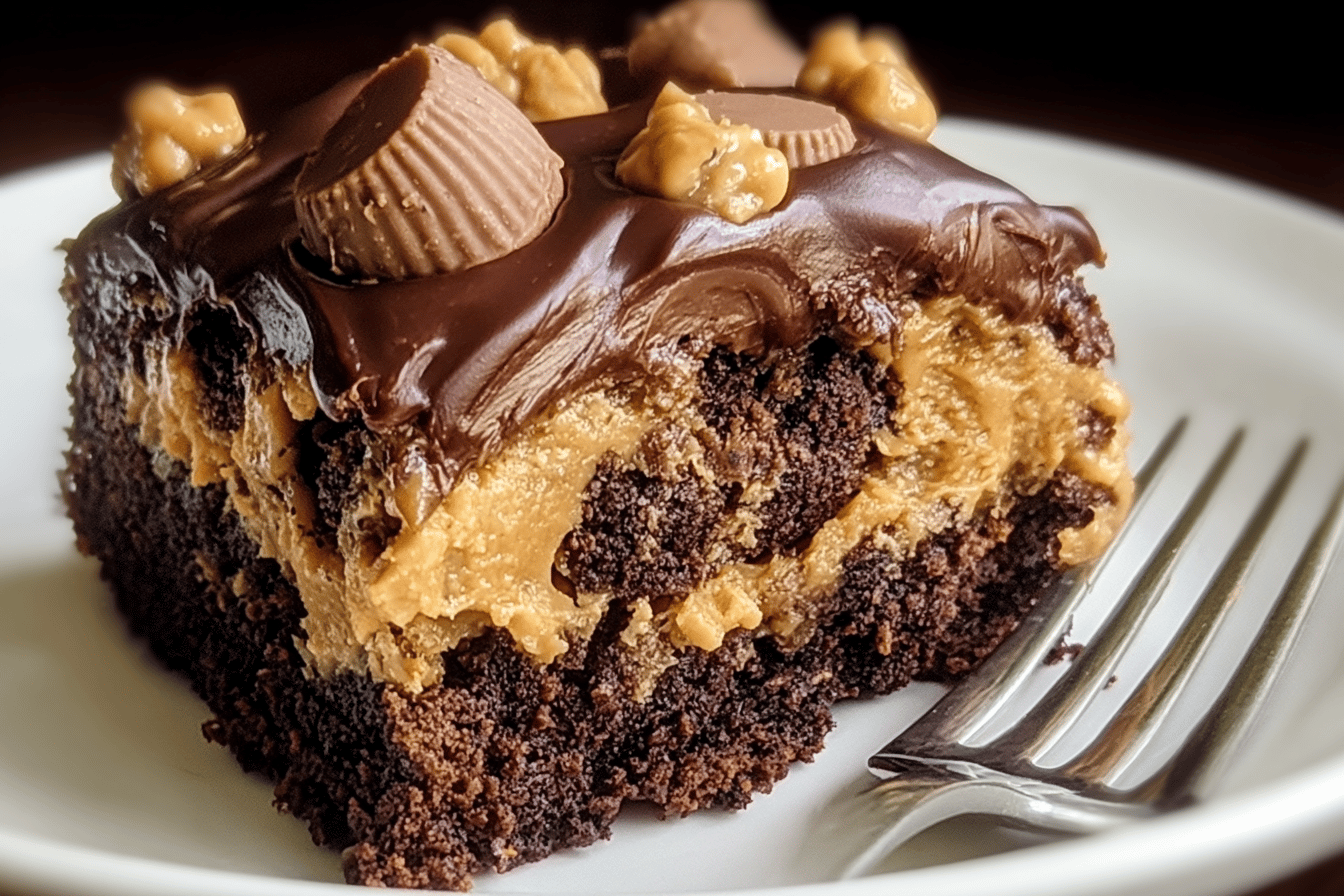
The smell of melted peanut butter and chocolate hit me as I walked into my aunt’s kitchen. She pulled the pan from the oven, gooey and golden. One bite sent me to heaven—warm, sweet, and crunchy all at once. Ever wondered how you could turn pantry staples into something this magical? Now, every time I make it, that memory comes rushing back. Try it, and you’ll see why it’s my go-to comfort dessert.My First (Slightly Messy) Attempt
I was so excited to make this cake, I forgot to grease the pan. The edges stuck, but the middle was perfect. We ate it with spoons straight from the dish. Cooking isn’t about perfection—it’s about joy and sharing. Even my “oops” moments taste good with this recipe. What’s your funniest kitchen fail? Share below!Why This Cake Works
– The sweetened condensed milk caramelizes, adding a rich, sticky layer. – The cake mix crisps up on top, giving a satisfying crunch. Which flavor combo surprises you most—peanut butter and chocolate or the buttery cake? I’d love to hear your thoughts. This dessert is all about contrasts.A Slice of History
Dump cakes became popular in the 1950s for their easy, no-fuss prep. This version twists the classic with candy-store flavors. *Did you know peanut butter cups were invented in 1928?* They’ve been winning hearts ever since. Would you try this with other candies? Tell me your dream swap!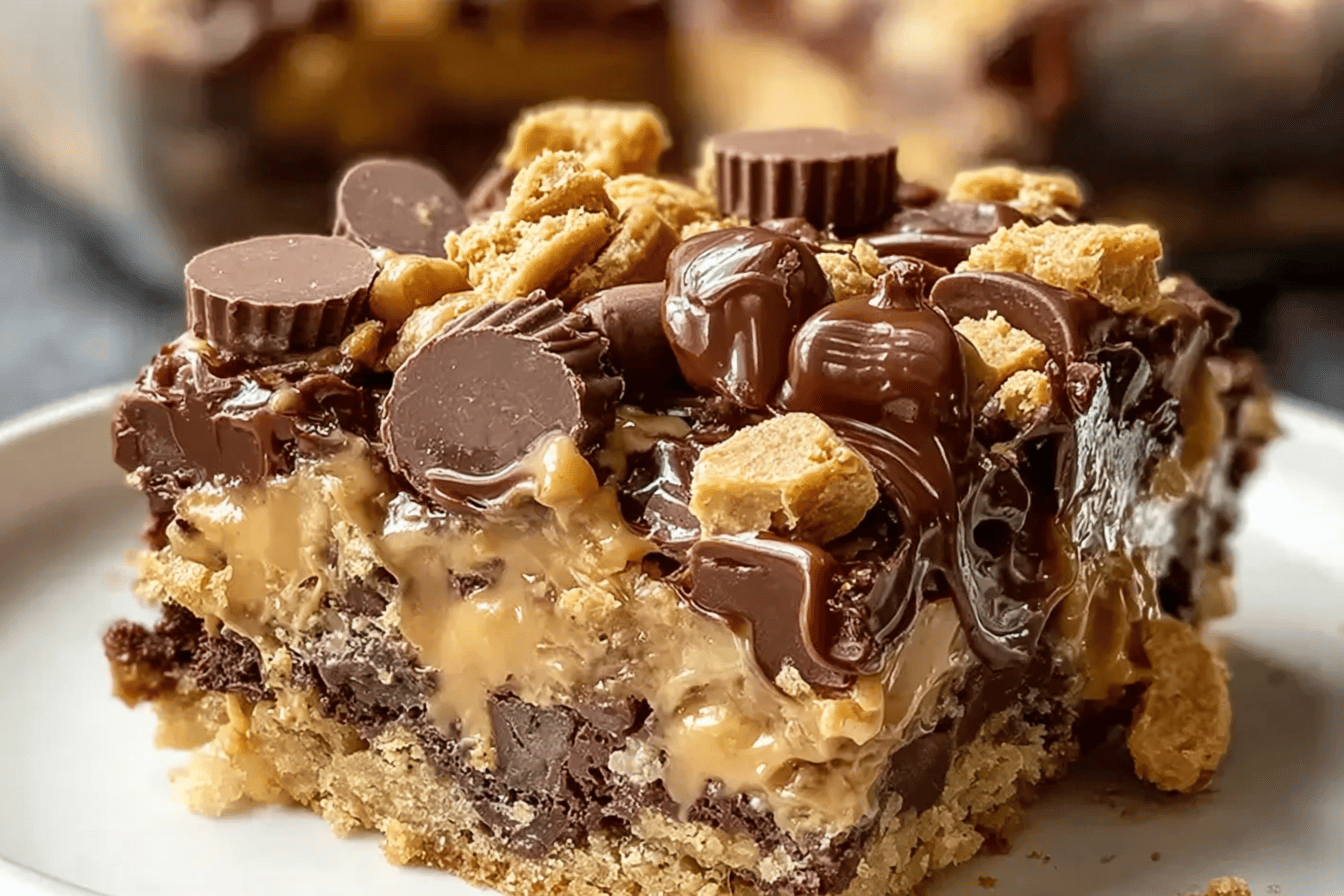
| Ingredient | Amount | Note |
|---|---|---|
| Yellow cake mix | 1 box | |
| Creamy peanut butter | 1 cup | |
| Sweetened condensed milk | 1 can (14 oz) | |
| Mini peanut butter cups | 1 cup | chopped |
| Chocolate chips | 1 cup | |
| Butter | 1/2 cup | melted |
| Chopped Reese’s or other peanut butter candies | 1 cup | |
| Chocolate syrup | As needed | optional, for drizzling |
How to Make Peanut Butter Cup Dump Cake
Step 1 Preheat your oven to 350°F. Lightly grease a 9×13-inch baking dish. This keeps the cake from sticking. Use butter or non-stick spray for best results.
Step 2 Scatter chopped peanut butter cups and chocolate chips in the dish. Spread them evenly for every bite. Avoid clumping in one spot. (Hard-learned tip: Freeze the candies first for easier chopping.)
Step 3 Drizzle sweetened condensed milk over the candy layer. It adds creamy sweetness. Pour slowly to cover the whole dish. Don’t worry about perfection—it’ll melt together.
Step 4 Dollop peanut butter all over the dish. Use a spoon for even drops. Creamy works best here. Stirring isn’t needed—trust the process.
Step 5 Sprinkle the cake mix on top. Spread it evenly without mixing. This creates a fluffy layer. Lumps are fine—they’ll bake out.
Step 6 Pour melted butter over the cake mix. Cover every dry spot. This makes the crust crispy. *Fun fact: Browned butter adds extra flavor.*
Step 7 Bake for 40–45 minutes. The top should be golden and bubbly. Let it cool slightly before serving. Hot filling can burn!
Step 8 Top with extra chopped candy and chocolate syrup. Serve warm for gooey goodness. Leftovers? Reheat for 10 seconds. What’s your favorite candy to bake with? Share below!
Cook Time: 40–45 minutes Total Time: 55 minutes Yield: 12 servings Category: Dessert, Cake
3 Fun Twists on This Recipe
Cookie Lover’s Swap Use crushed Oreos instead of peanut butter cups. Add extra chocolate chunks. Perfect for cookie fans.
Nut-Free Version Swap peanut butter for sunflower seed butter. Use caramel chips instead of Reese’s. Safe for allergies.
Salted Caramel Twist Drizzle caramel sauce with the condensed milk. Sprinkle sea salt on top. Sweet and salty bliss. Which twist would you try first? Vote in the comments!
Serving Ideas & Pairings
Serve warm with vanilla ice cream. The meltiness is heavenly. Or try whipped cream for lightness. Pair with cold milk for a classic combo. Coffee works too. For adults, a stout beer balances the sweetness. Which would you choose tonight—ice cream or coffee?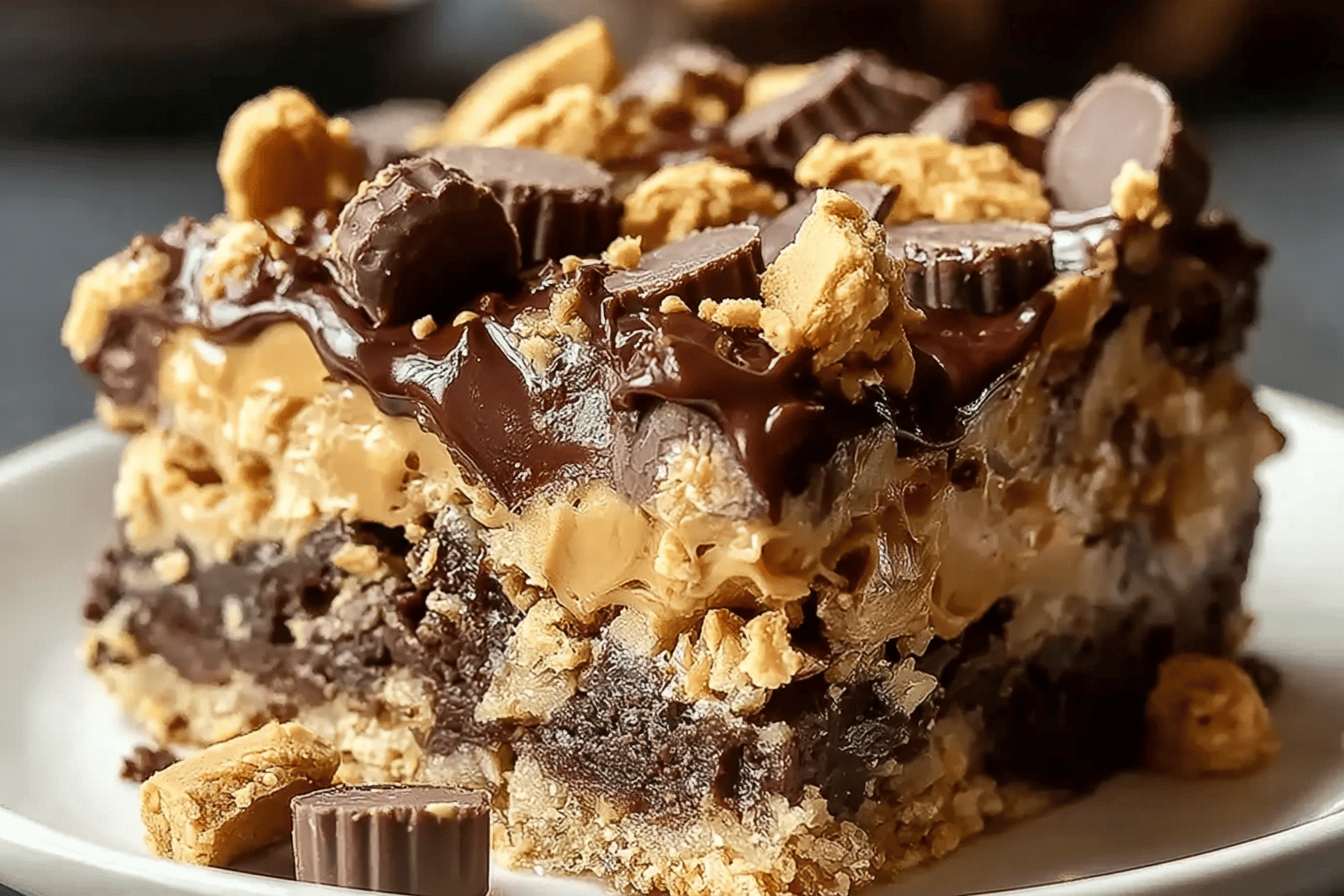
Storing and Serving Tips
Keep leftovers covered in the fridge for up to 3 days. Warm slices in the microwave for 10 seconds. Freeze whole or in portions for up to 2 months. Thaw overnight before reheating. *Fun fact*: My grandkids sneak cold slices straight from the fridge! Batch-cook note: Double the recipe in a larger pan for parties. Why this matters: The melted butter creates a crisp top layer that softens when stored. Ever tried freezing dessert for later? Share your tricks!Troubleshooting Common Hiccups
Issue 1: Dry cake? Check oven temp with a thermometer—overbaking sucks out moisture. Issue 2: Soggy middle? Spread layers evenly so heat penetrates. Issue 3: Candy sinking? Chill chopped pieces first so they stay put. Why this matters: Uneven layers mean some bites are too sweet, others too bland. My neighbor Linda once subbed chunky peanut butter—texture chaos! What’s your biggest baking fail?Your Questions Answered
Q: Can I use gluten-free cake mix?
A: Yes! Swap 1:1—just check the bake time. Some blends brown faster.
Q: How far ahead can I make this?
A: Assemble 1 day early. Keep unbaked in the fridge. Add 5 extra minutes.
Q: Any nut-free swaps?
A: Try sunflower seed butter and carob chips. Skip the peanut butter cups.
Q: Can I halve the recipe?
A: Use an 8×8 pan. Bake 30-35 minutes.
Q: Why no stirring?
A: Layers melt together perfectly. Trust the process—it’s magic!
Final Sweet Notes
This cake is my go-to for potlucks. It’s messy, joyful, and always disappears fast.Tag @AmeliaHartwell on Pinterest with your creations!
Did your family fight over the last slice? Happy cooking! —Amelia Hartwell.