The First Bite That Changed Everything
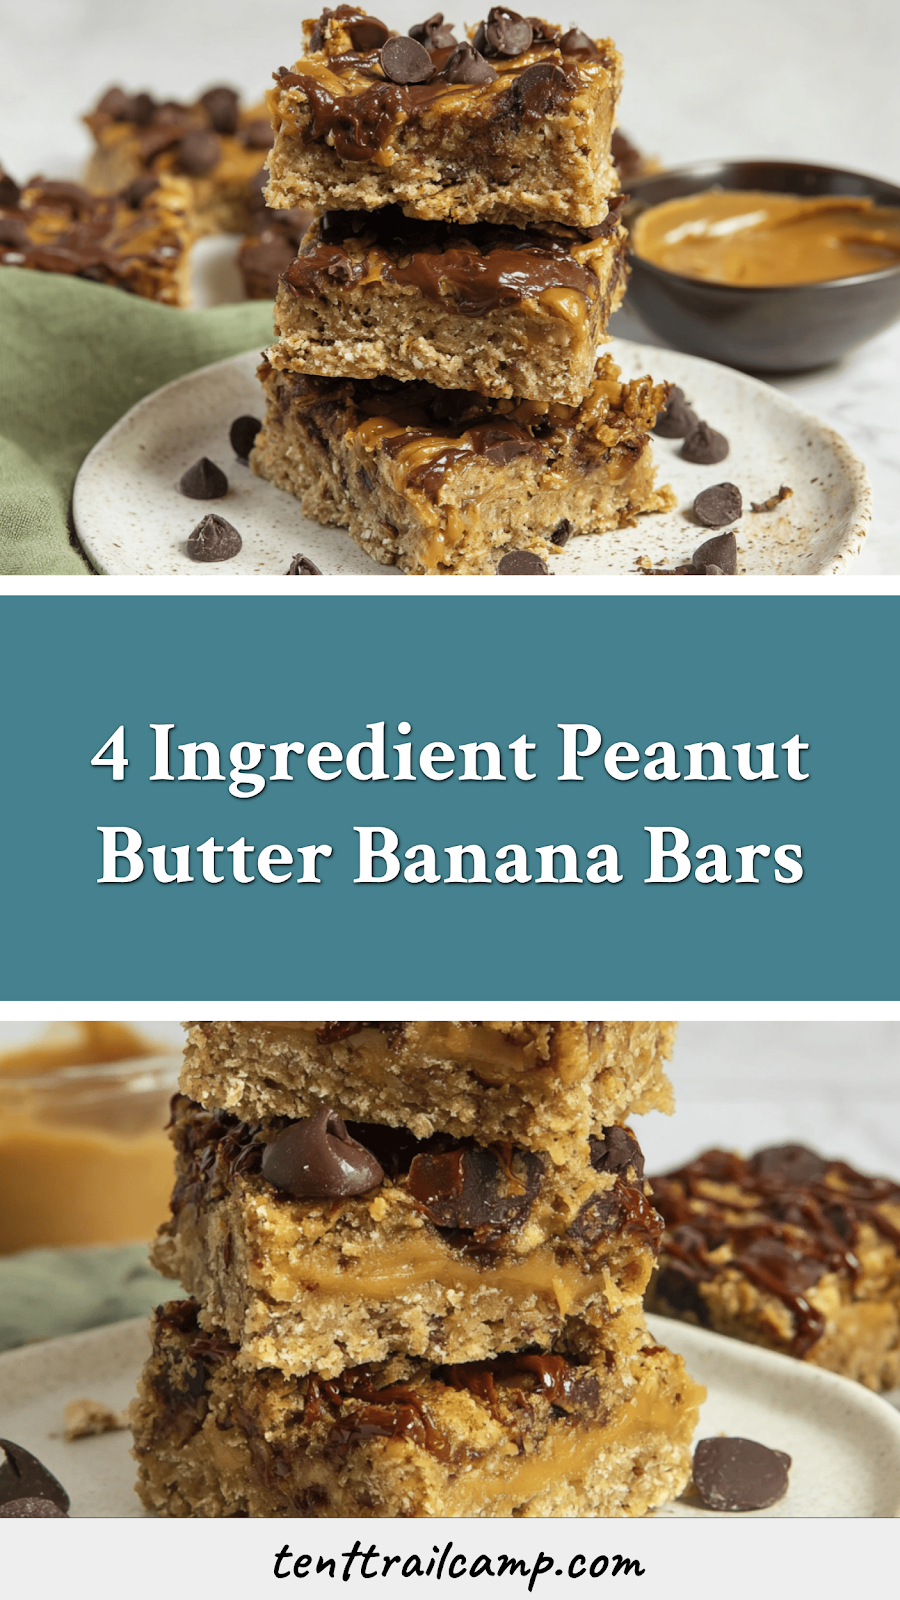
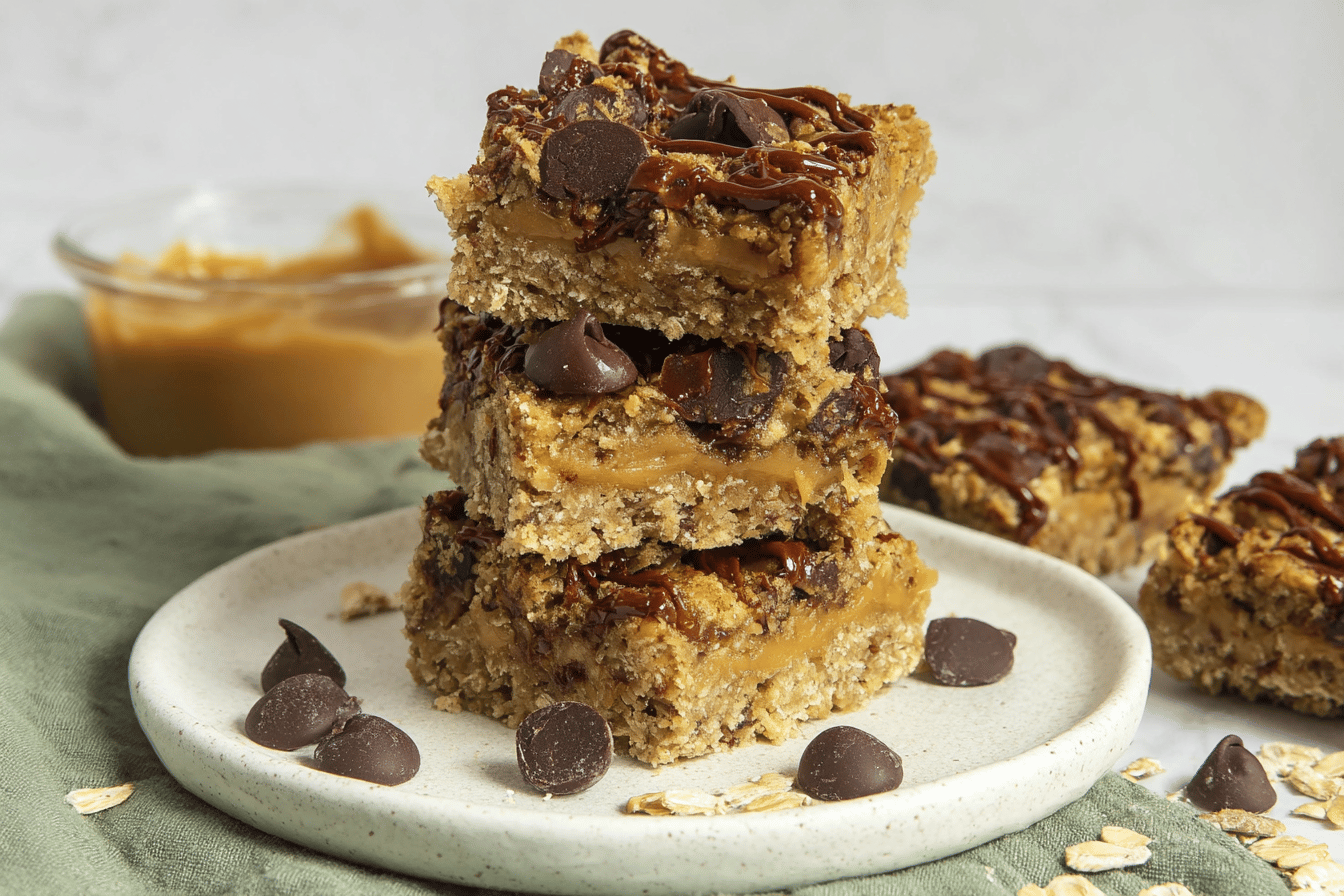
The smell of warm bananas and peanut butter hit me as I opened the oven. My kitchen felt like a cozy café. The bars were golden, with melty chocolate chips glistening on top. One bite—creamy, chewy, sweet—and I was hooked. Ever wondered how three bananas could turn into something this magical? Now I make these bars weekly. They’re perfect for breakfast or a snack. What’s your go-to quick bake? Share below!My Messy First Try
My first batch was… lumpy. I forgot to mash the bananas fully. The oats clumped, and the bars baked unevenly. But guess what? They still tasted amazing. Cooking reminds us that imperfect can still be delicious. It’s about joy, not perfection. Have you had a kitchen fail that turned out okay? Tell me in the comments!Why These Bars Work
– The bananas add natural sweetness and keep the bars moist. – Peanut butter gives a rich, nutty depth that pairs perfectly with chocolate. Which flavor combo surprises you most—banana and peanut butter or peanut butter and chocolate? Try swapping in almond butter for fun. Let me know how it goes!A Bite of History
These bars are a twist on classic oatmeal banana bread. That recipe dates back to the 1930s, when oats were a pantry staple. *Did you know peanut butter became popular in the U.S. during the Great Depression?* It was cheap and filling. Today, we mix them for a treat that’s both nostalgic and easy. What’s your family’s oldest recipe? I’d love to hear!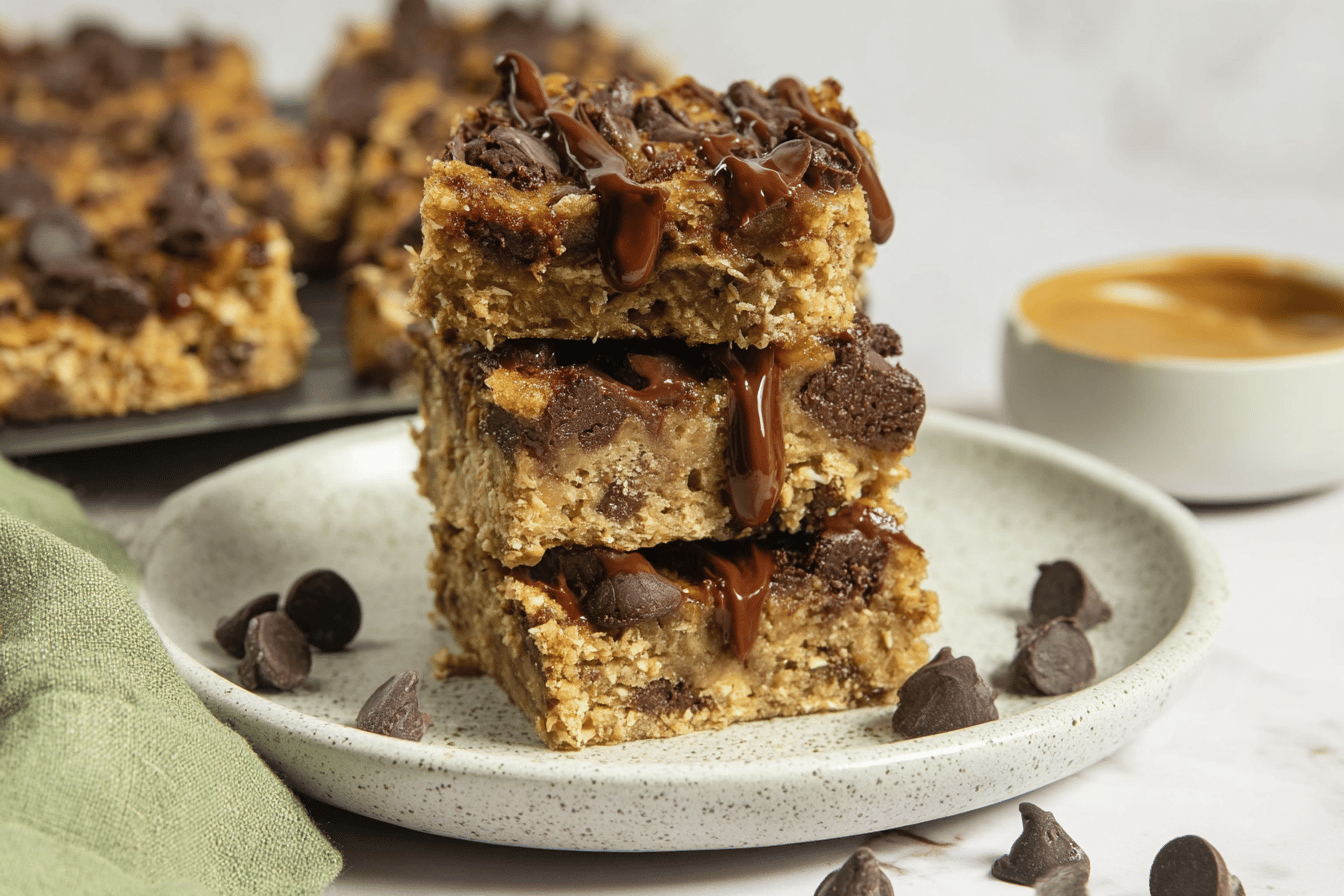
| Ingredient | Amount | Note |
|---|---|---|
| Very ripe bananas | 3 | |
| Smooth natural peanut butter | 1/4 cup | |
| Vanilla extract | 1 teaspoon | |
| Instant or quick cooking oats | 1 1/4 cup | |
| Salt | 1/4 teaspoon | |
| Baking powder | 1/2 teaspoon | |
| Chocolate chips | 1/2 cup | 1/3 cup mixed in, rest for topping |
Easy Peanut Butter Banana Bars
Step 1 Preheat your oven to 350°F. Grease a loaf pan or line it with parchment paper. This keeps the bars from sticking. Ripe bananas work best for sweetness.
Step 2 Mash the bananas in a large bowl until smooth. Stir in peanut butter and vanilla. Mix well for even flavor. A fork works great for mashing.
Step 3 Add oats, salt, and baking powder. Fold in most of the chocolate chips. Save some for the top. (Hard-learned tip: Overmixing makes bars dense.)
Step 4 Spread the mix into the pan. Top with leftover chocolate chips. Bake 25–30 minutes. A clean knife means they’re done.
Step 5 Let the bars cool before cutting. They firm up as they sit. Serve warm or at room temp. *Fun fact: These freeze well for later!* What’s your go-to quick snack? Share below!
Cook Time: 25–30 minutes
Total Time: 40 minutes
Yield: 6–8 servings
Category: Snack, Dessert
3 Tasty Twists
Nutty Crunch Swap peanut butter for almond butter. Add chopped walnuts for extra texture.
Berry Blast Skip chocolate chips. Use dried cranberries or fresh blueberries instead.
Spiced Up Mix in cinnamon or a pinch of cayenne. Warm flavors pair well with banana. Which twist would you try first? Vote in the comments!
Serving & Sipping
Serve bars with a dollop of yogurt. Or drizzle with honey for extra sweetness. Pair with cold milk or a hot coffee. For a grown-up treat, try a bourbon-spiked chocolate milk. Which would you choose tonight?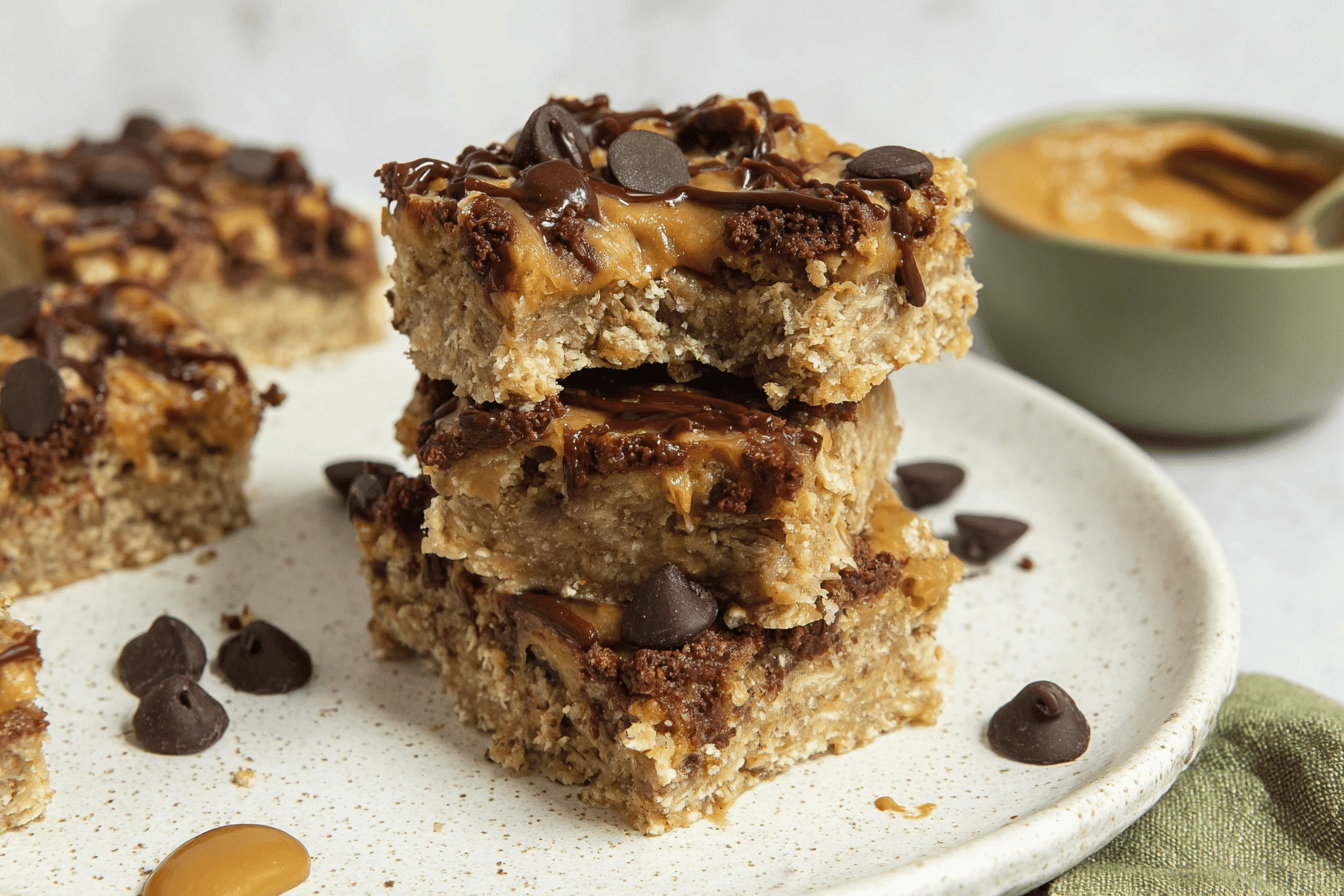
Storage Tips for Your Banana Bars
Keep bars fresh by storing them in the fridge for 5 days. Use a sealed container to avoid dryness. Freeze slices for up to 3 months—wrap them tight in foil. Thaw overnight or warm in a toaster oven. *Fun fact: Frozen bars taste like peanut butter banana ice cream!* Batch-cook and freeze for quick snacks. Why this matters: Prepping ahead saves time and cuts food waste. Ever tried freezing baked goods? Share your tricks below!Fix Common Banana Bar Problems
Too dry? Add a splash of milk next time. Bars crumble? Let them cool fully before cutting. Chocolate chips sinking? Toss them in oats first. Why this matters: Small tweaks make big differences in texture. My neighbor’s kids once gobbled up a crumbly batch—still a win! What’s your biggest baking fail? Swap stories in the comments.Your Banana Bar Questions Answered
Q: Can I use gluten-free oats?
A: Yes! Swap regular oats for certified gluten-free ones.
Q: How far ahead can I make these?
A: Bake 2 days early—store covered at room temp.
Q: What if I don’t have peanut butter?
A: Try almond or sunflower seed butter instead.
Q: Can I double the recipe?
A: Absolutely. Use a 9×9 pan, bake 5 extra minutes.
Q: Are these toddler-friendly?
A: Yes! Skip salt for little ones.
Let’s Keep the Conversation Going
I’d love to see your banana bar creations! Tag me on Pinterest so I can cheer you on. Cooking connects us—just like my grandma’s recipes bonded our family. Happy cooking! —Amelia Hartwell.