My First Bite of Cranberry Magic
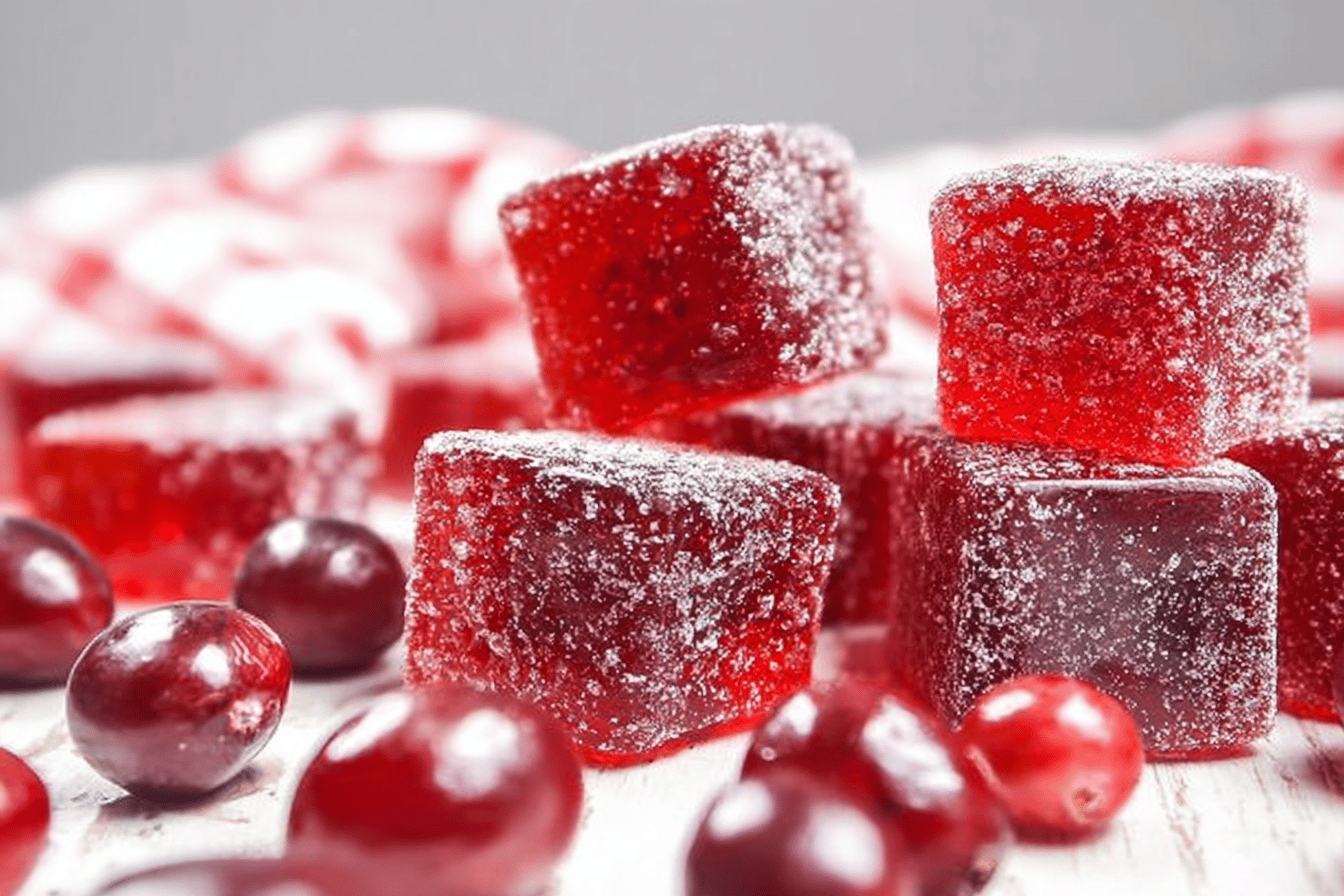
I tasted my first cranberry candy at a winter market. Its sweet-tart flavor burst in my mouth. The sugary crunch gave way to a soft, chewy center. I was hooked from that very first bite. Ever wondered how you could turn holiday juice into something unforgettable?
A Sticky Kitchen Surprise
My first try making these candies was messy. I did not use enough sugar for coating. The whole slab stuck to my fingers. We still ate the delicious, sticky mess. This taught me that homemade treats are about love, not perfection.
Why This Treat Tantalizes
These candies offer a perfect balance of flavors. The sharp cranberry cuts through the sweet sugar. The texture is a fun mix of crunch and chew. It is a simple joy for your taste buds. Which flavor combo surprises you most, tart or sweet?
A Sweet Slice of History
Fruit jellies have been loved for centuries. They became popular in America with new sugar supplies. Cranberries, a native fruit, made a perfect local ingredient. *Did you know early settlers used cranberries for food and dye?* This candy blends old-world techniques with a new-world harvest. Share your favorite family candy story with me.
| Ingredient | Amount | Note |
|---|---|---|
| Cold cranberry juice | 240 milliliters | 1 cup |
| Powdered gelatin | 35 grams | about 3 1/2 tablespoons |
| Granulated sugar | 650 grams | about 3 1/4 cups, plus more for coating candies |
| Boiling cranberry juice | 180 milliliters | 3/4 cup |
| Canola or vegetable oil | As needed | for greasing tin and knife |
Making Your Festive Cranberry Jelly Candies
Step 1
First, line your pan with parchment paper. Grease it well with oil. This stops the candy from sticking later. Set your pan aside for now.
Step 2
Pour cold juice into a big saucepan. Sprinkle the powdered gelatin over it. Let it sit to dissolve and soften. This step is very important.
Step 3
Now add the boiling juice and all the sugar. Whisk everything together until it mixes. The sugar will not all dissolve yet. That is perfectly okay.
Step 4
Bring the mix to a full boil. Then lower the heat to medium. Let it simmer until it hits 225°F. (A hard-learned tip: be patient, this takes time!).
Step 5
Take the pan off the heat. Stir it gently with a spoon. This removes bubbles for a smooth candy. Then pour it into your prepared pan.
Step 6
Chill the pan in your refrigerator. Let it get completely firm and set. This takes at least four good hours. Overnight is even better for this.
Step 7
Once firm, turn the slab out. Put it on a surface covered in sugar. Coat the whole thing in sugar. This handles the sticky texture perfectly.
Step 8
Use a sharp, oiled knife to cut squares. Roll each piece in more sugar. Then let them air-dry for a day or two. This makes a crunchy shell. What is the key to a crunchy candy coating? Share below!
Cook Time: 25-30 minutes
Total Time: 4 hours 30 minutes (plus drying)
Yield: 49-64 candies
Category: Dessert, Candy
Creative Twists on a Classic Treat
These candies are fun to change up. Try a new flavor for your next batch. Each version brings its own special joy. Everyone will love your new creation.Orange Spice: Use orange juice and add a pinch of cinnamon.
Tart & Tangy: Mix in a little lemon zest with the sugar.
Ginger Zing: Add a teaspoon of ground ginger to the hot mix. Which twist will you try first? Vote in the comments!
Serving Your Sweet Homemade Candy
These candies are perfect for sharing. Place them in a pretty bowl for guests. They also make a wonderful food gift. Package them in a cute little box. For a party, pair them with dark chocolate. They also go well with sharp cheese. A hot cup of tea is a great match. A glass of champagne is festive too. Which would you choose tonight, tea or something bubbly?
Keeping Your Candies Perfect
Store these candies in an airtight container. Use parchment between layers. They last weeks at room temperature. I keep mine in a cookie tin. My grandkids sneak them all December long. You can make a big batch ahead. They are perfect for holiday gifting.
Quick Fixes for Common Troubles
Is your mixture not setting? You may not have boiled it long enough. Always use a thermometer for the right temp. Is the candy too sticky? Just roll it in more sugar. Let it air dry a full two days. Did your slab break while cutting? Just press the pieces back together. The sugar coating will hide any mistakes.
Your Candy Questions Answered
Are these candies gluten-free?
Yes, they are naturally gluten-free. Always check your juice labels to be sure.
Can I make them ahead of time?
Absolutely! Make them up to a month before. They actually get better with time.
What juice can I use instead?
Try tart cherry or pomegranate juice. Any full-sugar juice will work well here.
Can I cut the recipe in half?
I do not recommend it. The cooking process works best with the full amount.
What is your favorite way to serve these?
I love them on a holiday cheese board. They add a sweet and tart punch.
Share Your Sweet Creations
I hope you love making these classic treats. They fill your home with a wonderful smell. What holiday candy do you make every year? I would love to see your results.
Tag Amelia Hartwell on Pinterest with your photos!
Happy cooking! —Amelia Hartwell.

Festive Cranberry Jelly Candies for Holiday Treats
Description
Homemade festive cranberry jelly candies with a sweet-tart flavor and a delightful sugary crunch, perfect for holiday gifting and treats.
Ingredients
Instructions
- Line an 8×8-inch square tin with parchment and grease generously with canola oil or nonstick spray. Set aside.
- Add cold cranberry juice to a large saucepan; sprinkle gelatin over top to dissolve.
- Add boiling cranberry juice and sugar to the saucepan and whisk to combine.
- Bring mixture to a boil. Reduce heat to medium and simmer, stirring occasionally, until mixture reaches 107° C / 225° F on a digital thermometer. This will take 20-25 minutes or longer, so be patient!
- Remove from heat. With a heat resistant spoon, stir gently to remove bubbles.
- Pour mixture into prepared pan. Chill until firm, at least 4 hours or overnight.
- Line a large tray with baking parchment and set aside.
- Once set, peel away parchment and turn cranberry jelly slab out onto a well-sugared surface. I like to use a chopping board covered in parchment, with 2-3 scoops of granulated sugar on top.
- Coat the sticky slab in sugar. Use your hands to spread and distribute the sugar until the slab is completely covered on both sides.
- Cut slab into squares with a sharp, well-oiled knife. (I like to lightly mark the squares with the back of my knife prior to cutting, to make sure all of my candies are roughly the same size.) You can cut 7 x 7 rows (for 49 square candies) or 8 x 8 rows (for 64 square candies). If preferred, you can also use a greased metal cutter to cut fun shapes instead of squares.
- Roll each square in sugar so all sides are covered. Place coated candies on prepared tray, making sure they do not touch. Air-dry at room temperature, uncovered, for 1-2 days, or until candy crystallizes and develops a crunchy coating.
- Store cranberry jelly candy in an airtight container, layered between sheets of parchment. These will keep well at room temperature for 3-4 weeks.
Notes
- Ensure your digital candy thermometer is accurate for the best results. The long drying time is essential for achieving the classic crunchy sugar coating.